Friday, March 2, 2012

Peanut Butter Bars

So in honor of National Peanut Butter Day yesterday I made the amazing no-bake Peanut Butter Bars! You only need 5 ingredients and they take about 10 minutes to make! They are yummy by themselves but even better when you chop them up and sprinkle over vanilla ice cream! (Wow, that is for sure not healthy but totally yummy!)


Ingredients:

Filling:
2 cups crushed graham crackers
2 sticks butter
2 cups powdered sugar
1 cup peanut butter

Melt butter and peanut butter in microwave together. Add graham cracker crumbs and powdered sugar, thoroughly combine. Spread into an 13x9 inch pan and set aside.

Topping:
1 1/2 cup chocolate chips
4 tbs peanut butter


Melt chocolate chips and peanut butter in microwave at 30 second intervals stirring after each so the chocolate doesn't burn. Once completely melted pour over the peanut butter mixture and refrigerate for 1 hour before serving! Enjoy!!


Thursday, February 16, 2012

Easy Valentine's Day Card

Since I am still on maternity leave and hardly ever get out of the house I decided that it would be the easiest (and also most personal) if I made my fiance' a card this year for Valentine's Day! 

I'm not the kind of person that usually does a lot of stamping but I was recently at Michael's Craft Store and saw these little stamp pads for $1.00 a piece so I ended up buying a bunch of them. I figured something would come up in the future where I could use them!

This project is so easy and gives you a lot of creative freedom, it's definitely a craft you could have your kids help you with for Valentine's Day, Fathers Day, Mother's Day or whatever holiday you choose!


Materials:
4-6 stamp pads of different colors
1 blank card
1 envelope
2 pencils (at least) with new erasers
1 pen of any color
1 knife or razor

This is the most difficult part of the whole project. Draw a heart in the eraser with the tip of your knife. Once you have the outline of a heart that you like, cut into the eraser the shape of the heart. This creates a neat little heart stamp.


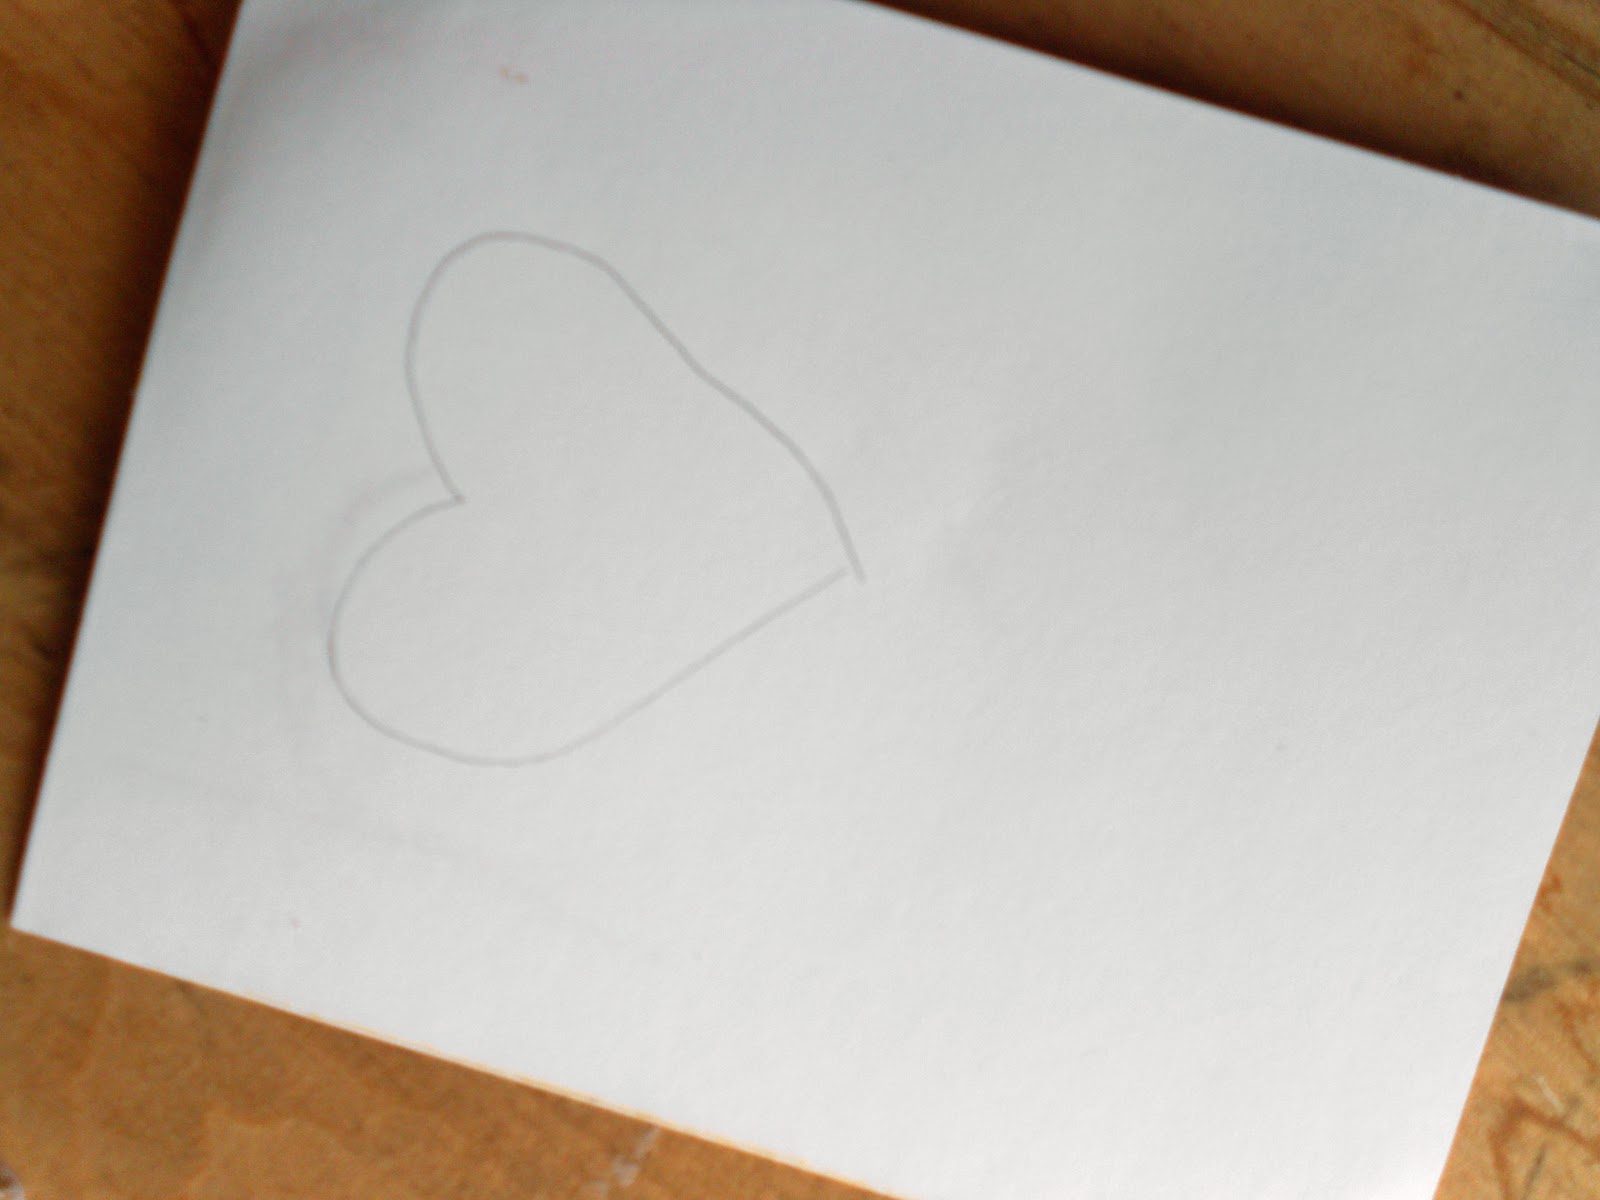
Next I sketched the outline of a heart onto my blank card very lightly with a pencil.

  
Using the heart stamp that I made and the red ink pad I stamped some hearts everywhere.


Continuing with a regular eraser I alternated different colors all over inside of the heart I drew. Once it started to look more like a heart shape I erased the outline.


I filled it in a little more until I was satisfied... Then I came up with a nifty little saying to put on the card...


My daughter even helped me by giving me her tiny footprint! I'm so happy with the way this card turned out and my fiance absolutely loved it! 


I hope I've inspired you to create your own stamps and cards for special occasions. Be sure to show me what you've come up with!

Sunday, January 15, 2012

Tile Coasters

These tile coasters are so fun to make and definitely very easy. There are so many different options you have while making these, you can use any kind of paper you prefer or even use up some scraps of fabric you may have laying around. They make a great gift, and as a matter of fact I used them for Christmas gifts!

Materials:
4 1/4'' x 4 1/4'' white tiles
cork sheets
paper or fabric
mod podge
hot glue gun
clear gloss spray paint


Cut your cork in to 4in x 4in squares. Use your hot glue gun and glue the cork onto the back of the tiles. Hot glue dries fast so do one tile at a time and work quickly.


Cut your paper into 4in x 4in squares. Apply a thin layer of Mod Podge to the BACK of the paper and press and hold firmly onto each tile. 


Apply a thick layer of Mod Podge on top of the paper and let dry completely. (About 15-20 minutes.) If you want you can add another layer but I felt no need to do this as I made my layer pretty thick.


Spray a layer of clear gloss spray paint over the tiles. This will seal the tiles and make them water resistant. 


Let dry and enjoy your beautiful coasters!

Wednesday, January 11, 2012

Chocolate Dipped Peanut Butter Bananas

I have been going NUTS for peanut butter and chocolate lately and it's sure not helping my "healthy eating" resolution. Most people give them up by the end of the first month anyways, right? Well here is another quick little snack that has my favorite combination and takes no time at all to make. Enjoy. :]

Ingredients:
2 large bananas
1/4 cup peanut butter
1/2 cup semi-sweet chocolate chips
1/2 cup milk chocolate chips
2tsp powdered sugar
1tbs milk


Cut bananas into about 1/2 inch thick pieces and place on wax paper. 

Combine peanut butter and powdered sugar in a small bowl, place a small dollop of the peanut butter mixture onto each banana slice.

Next place the chocolate chips and milk in a microwave safe bowl. Microwave in 20 second increments stirring occasionally so the chocolate won't burn. 

Once the chocolate is a dipping consistency, use a fork to dip the peanut butter covered bananas into the chocolate. (It may help to also use a spoon to pour chocolate over the bananas.) Place back onto the wax paper and freeze for about 2 hours. 

Make sure to store them in the freezer as they melt easily. :]

Monday, January 9, 2012

Cheesy Chicken Hot Dish!

I've got to admit that I have a soft spot for anything that is a "Hot Dish" containing cheese... Well I have a soft spot for cheese in general, so when I saw a picture on Foodgawker for Cheesy Chicken Spaghetti Caserole I got all excited! Then... I went to view the recipe for it and there was no link to it. :[

I decided that it looked to good to pass up so I came up with my own little recipe. Ta-Da! Cheesy Chicken Hot Dish!

Ingredients:
10oz cooked spaghetti noodles
2 cups cooked chicken, diced**
1 can cream of chicken soup
1 can cream of mushroom soup
2 tablespoons butter
1 cup milk
1/2 teaspoon garlic powder
1/2 teaspoon Mrs. Dash (or any poultry seasoning)
1/8 teaspoon pepper
1/8 teaspoon salt
1 cup shredded mozzarella cheese
1/4 cup shredded parmesan cheese


**Add the Mrs. Dash or other poultry seasoning to the chicken while cooking.


In a casserole dish add the noodles, chicken, 2 cans of soup, milk, mozzarella, butter, garlic powder, salt, and pepper. Mix together and top with parmesan. Bake at 350° for 30-35 minutes or until the soup mixture begins to bubble. 

Sunday, January 8, 2012

French Vanilla S'more Crescents


I have to admit that S'mores are my biggest guilty pleasure. I especially crave these warm  delights in the winter time but it is a little hard to have a campfire in the middle of a northern Minnesota winter, SO I decided to find another way to make them. 

I saw something similar to these on Pinterest but they made them with just chocolate chips and peanut butter, so I figured I would change it up and substitute some french vanilla marshmallows for the peanut butter!
Ingredients:
Original Crescent  Rolls
French Vanilla Marshmallows
Milk Chocolate Chips


Roll the crescents out of the tube and place a small handfull of chocolate chips and a few marshmallows on top. 


Roll the crescents up from the base of the triangle to the point making sure all of the edges are pinched together so the filling can't escape.


Bake at 375° for about 10 minutes (until yummy and golden brown!). :]


 Sprinkle with a little powdered sugar and enjoy!!

Saturday, January 7, 2012

Cover Button Magnets

If you are anything like me you have a basket full of random scraps of fabric and aren't really sure what to do with them.


I was browsing on Pinterest one night and came across some adorable Cover Button Push-Pins. I don't really use push-pins much but I thought it would be perfect just to make them into magnets instead!


These literally take only 5 minutes to make and are so cute anyone would love them. I even made some and used them as small gifts for christmas. :]


Materials:
Fabric Scraps
Cover Button Kit (I bought mine on Amazon.com but I've seen them at Walmart)
Magnets
Super Glue
Scissors
Needle-Nose Pliers


First, use your needle-nose pliers to pinch the hooks and pull them off from the button backs. You need to do this step in order to glue the magnets onto the button backs.


This is what one back looks like after you take off the hook.


Cut out your fabric squares next. Each square must be double the size of the button you are using. Some button kits may come with a pattern so you know the exact size you need.


Take the white plastic mold from the Cover Button Kit and place your fabric square wrong side up on top of it. Then place the button on top of the fabric and push it down into the cup.


Fold the fabric over and place the button back on top.


Use the blue piece and push the button back down into the button. You have to push hard to make sure it is secure.


Remove the covered button from the white mold and it should look like this. 


Use super glue to adhere the magnets to the back of your covered buttons.


TA-DA! These are so easy to make and the best part is you can use up any small fabric scraps you have laying around. Enjoy! :]